LED Strip Lighting Mistakes That Ruin the Look (and How to Fix Them)
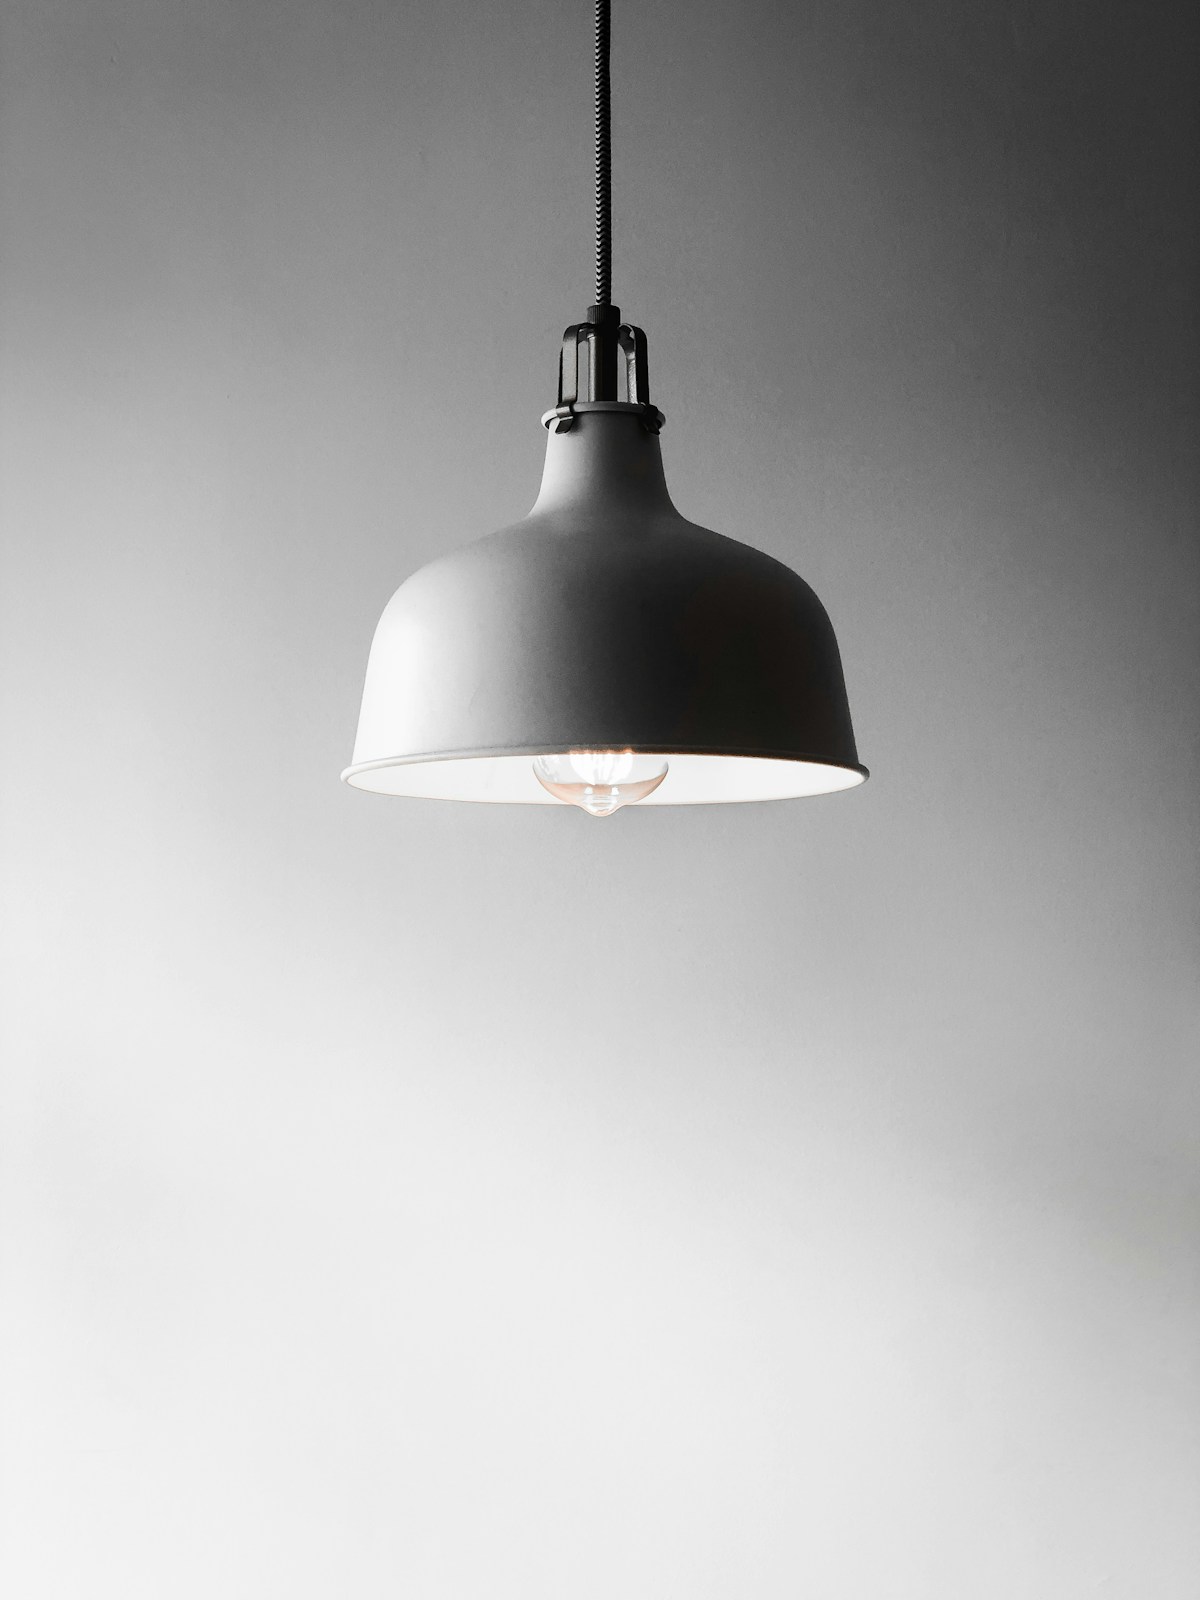
- Primary Signal: LED Strip Lighting Mistakes That Ruin the Look (and How to Fix Them)
- Overview: LED strips can look premium or cheap depending on installation. Avoid visible dots, harsh colour, and weak power supplies with these placement, diffusion, and control fixes....
- Verification: Analyzed and compiled by Caylin Shop editorial monitoring desk.
LED strip lights are among the most popular home upgrades because they are cheap, colourful, and instantly transformative in photos. Yet many installations look disappointing in person: visible individual dots instead of a smooth glow, harsh colours that make a room feel like a nightclub, dark patches where power fades along a long run, or strips peeling off within weeks. Almost every disappointing result traces to a handful of avoidable installation mistakes, and fixing them costs little more than doing the job carefully the first time.
The most common mistake is mounting bare strips where the individual LEDs are directly visible, producing a dotted line instead of a continuous glow. The fix is indirect lighting: mount the strip in a channel with a diffuser cover, or hide it behind a lip, shelf edge, or coving so you see the light it casts, not the diodes themselves. Aluminium channels with frosted diffusers cost a few dollars per metre and transform the result from cheap to premium instantly, while also protecting the strip and dissipating heat that shortens its life.
Colour temperature is the second mistake. Cool white above 5000 Kelvin feels clinical in a bedroom or living room, while warm white around 2700 to 3000 Kelvin suits relaxation spaces. RGB colour strips tempt users toward saturated reds and blues that look fun for an evening and tiring permanently; for everyday use, choose warm white as the default and reserve colours for occasions. Also match colour temperature across a room, because a warm strip beside a cool ceiling light creates a visual clash that feels wrong even when you cannot name why.
Placement is the third mistake: strips stuck at eye level or facing directly into the room glare and distract, while strips hidden under shelves, behind a television, or along ceiling coves wash surfaces with soft light. Plan the light's target, a wall, a shelf, or a ceiling, rather than the strip's location, and test placement temporarily with tape before committing adhesive. A strip that lights a textured wall or a bookshelf looks intentional; a strip that lights your eyes looks like an accident.
Power mistakes cause the frustrating fade where a long strip is bright at the power-supply end and dim at the far end. LED strips suffer voltage drop over distance, so runs longer than five metres usually need power injected at both ends or split into shorter runs with separate supplies. Calculate total wattage: multiply the strip's watts per metre by its length, then choose a power supply rated at least 20 percent above that total, from a reputable brand, because an undersized or cheap supply overheats, flickers, and can be a fire risk.
Adhesion failures are equally common: strips stuck to dusty, greasy, or textured surfaces peel within weeks, often damaging paint as they fall. Clean the surface with alcohol, let it dry, and for permanent installations use mounting clips or channels rather than relying on foam tape alone, especially on ceilings or in warm areas where adhesive softens. Cutting and joining mistakes complete the trio: cut only at marked cut points, use proper connectors or soldered joints rather than twisting wires, and seal outdoor or bathroom strips against moisture with the correct IP rating.
Control choices make the difference between a strip you use daily and one stuck on a single colour. A simple remote works, but app or smart-home control with dimming, scheduling, and scene presets means the strip adapts to morning, evening, and movie modes without fiddling. Dimming matters more than colour variety: a warm strip dimmed to 30 percent in the evening creates a genuinely relaxing atmosphere, while a strip that only runs at full brightness quickly becomes annoying and gets switched off permanently.
Finish the job properly: hide power supplies and controllers out of sight, route cables neatly, label the power supply wattage for future reference, and keep a spare metre of strip and connectors for repairs. Step back and view the room from its normal seating positions, not from beside the strip, because that is how the light will actually be experienced. Done with diffusion, warm colour, indirect placement, adequate power, and dimming control, LED strips deliver the premium look their advertisements promise, at a cost and effort far lower than most home lighting upgrades.
Avoid the six classic LED mistakes: hide the diodes behind diffusers, choose warm white for living spaces, light surfaces rather than eyes, size power supplies generously, mount securely, and add dimming control. Those fixes turn a cheap-looking strip into lighting that genuinely improves a room.
📖 Continue Reading the Full Story
Continue reading this article on Caylin Shop.
⚡ Access Full Content NowMore from Caylin Shop


 💎 LuxeLiving 768
Crypto APY Calculator Australia: 2026 Staking Rewards Guide
Australian crypto investors: estimate your staking rewards with a crypto APY calculator. Compare APY vs APR, c...
 ✈️ SkyFree Club
Mobile & Cloud Optimization: Playback Speed Calculator — Video Time at Any Speed (Day 16 Guide)
Testing responsive workflows with the Playback Speed Calculator — Video Time at Any Speed on SkyFree Club. Dis...
 ⚡ SkyFree Athletics
Performance Benchmark: Playback Speed Calculator — Video Time at Any Speed (Day 7 Guide)
Understanding real-world data from the Playback Speed Calculator — Video Time at Any Speed on SkyFree Athletic...
 🖋️ SkyFree Chronicles
Expert Insights: Playback Speed Calculator — Video Time at Any Speed (Day 8 Guide)
The science behind our free Playback Speed Calculator — Video Time at Any Speed on SkyFree Chronicles. Discove...